How to Remove Vinyl Wrap Safely Without Damaging Paint: Essential Tips for Your Car

Vinyl wraps have become a popular choice for car lovers and businesses alike, giving vehicles a fresh look without the commitment of a paint job. However, when it's time to say goodbye to that shiny layer, many drivers worry about damaging the paint underneath. Asking how to safely remove a vinyl wrap is something a lot of people have thought about. If it’s fading colors or simply a desire for a change, knowing how to peel away that vinyl correctly can save you from costly repairs down the road. In this guide, we'll cover everything from what vinyl wraps are and why they might need removal to step-by-step instructions and essential tips to keep your car's finish intact. Let's dive in!
What is Vinyl Wrap and Why Remove It?
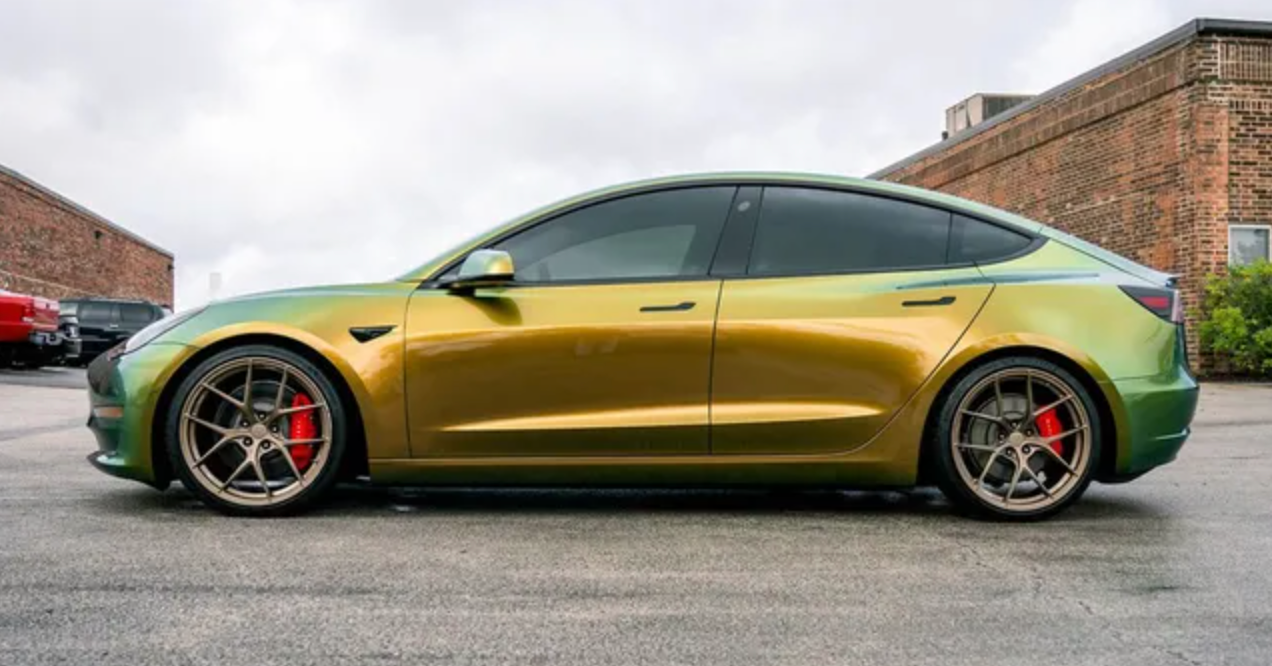
Vinyl wrap is a versatile film that adheres neatly to a car's exterior, allowing you to change the vehicle’s appearance without resorting to an irreversible paint job. It serves multiple purposes, from aesthetic enhancements, such as altering color or adding eye-catching graphics, to protective measures that shield the original paint from minor dings, scratches, and harmful UV rays. This means you not only get a fresh, custom look but also functionality that keeps your car looking its best.
Over the years, vinyl wraps have soared in popularity, especially among car enthusiasts who wish to showcase their personal style. It's like dressing up your vehicle in new clothes while safeguarding its underlying quality. Businesses have embraced this trend too, opting for vinyls to display logos on fleet vehicles—a dynamic way of promoting brand visibility without the permanence of paint.
However, there will come a time when it is necessary to remove the wrap. There can be various reasons for this decision. As time passes, the wrap may show signs of wear—fading colors or peeling edges might indicate its longevity has waned. These imperfections can detract from the overall look of the car and might even raise doubts about what lies beneath when it comes time to sell.
The internal condition of your car's paint can also influence the choice to remove a wrap. If rust or damage occurs underneath, allowing it to fester beneath a layer of stylish vinyl can lead to expensive repairs down the line. Hence, regularly evaluating both the wrap and the underlying paint ensures you're staying ahead of any cosmetic or structural issues.
Understanding how to safely and effectively remove vinyl wraps is crucial not only for maintaining a vehicle's aesthetic but also for protecting its long-term value. Each step should be taken with care, not just in stripping away a layer, but in safeguarding what remains beneath.
Essential Tools for Safe Wrap Removal
Removing a vinyl wrap is a delicate process, and having the right tools makes all the difference. Each tool serves a specific purpose and can greatly influence the efficiency and safety of the project.
The heat gun is perhaps the star player in this operation. It warms up the wrap, making the adhesive beneath it pliable. This step is essential because a heat gun helps ensure that you lift the vinyl smoothly without tugging or tearing at it. Remember, patience is key—keep the heat moving and don’t linger too long on any one spot to avoid damaging the underlying paint.
Understanding Plastic Razor Blades
Next, there are plastic razor blades. These unsung heroes gently lift the edges of your vinyl without scratching or damaging the paint underneath. Unlike their metal counterparts, plastic blades are forgiving and will glide across the surface rather than nick it. Slide these blades under the wrap with caution, as it is more like gliding over ice than chiseling stone.
After removing the majority of the wrap, some residue may still cling to the surface. This is where the adhesive remover comes into play. For optimal results, this substance is recommended to be applied liberally but with caution. Allow it a moment to work its magic before wiping it away with a microfiber cloth that won’t scratch or leave lint behind.
The Importance of Isopropyl Alcohol
Finally, use isopropyl alcohol to achieve a pristine finish. This isn't just for wiping down countertops; it's the final step in getting rid of any sticky residue left by the adhesive remover. A light application with a fresh microfiber cloth removes every trace, leaving only a beautifully restored surface.
Step-by-Step Wrap Removal Process
Removing a vehicle wrap is a detailed process that requires patience, precision, and the right tools to avoid damaging the underlying paint. Understanding the step-by-step removal process is essential when replacing an outdated design, switching brands, or returning to the original finish.
Step I - Preparation
The first step in removing a vinyl wrap effectively is all about preparation. It's essential to park the car in a shaded area to shield the surface from direct sunlight, as heat can alter the adhesive's properties and make removal more challenging. Ensuring that the car surface is clean also plays a vital role; any dirt or debris left on the paint can become trapped under the wrap during removal, leading to scratches or damage. Gather all necessary tools—this includes a heat gun, plastic razor blade scrapers, adhesive remover, and microfiber cloths.
Step II - Heat Application
Use the heat gun to gently warm a small section of the wrap. The ideal temperature for softening the adhesive without damaging the paint is around 60 degrees Fahrenheit. Make sure to maintain a safe distance with the heat gun; overheating can affect the integrity of the underlying paint, causing it to bubble or lift. To evenly distribute the warmth, move the heat gun back and forth over the section, avoiding concentrating too much on any one spot.
Step III - Peeling the Wrap
After you've finished heating a section, start peeling it off. Begin at one corner of the wrap, where it's usually easier to start lifting it away from the vehicle. Gently use a plastic razor blade to lift that corner while being careful not to scratch the paint beneath. Begin peeling back the vinyl, taking care to pull it slowly and at an angle of 25-40 degrees; this technique reduces stress on both the wrap and the car's surface while lowering the risk of leaving unsightly adhesive residue or tearing.
Step IV - Removing Adhesive Residue
After removing the wrap, there is often sticky residue left behind. To tackle this, spray adhesive remover onto those areas and allow it to sit for a few minutes; this dwell time enables it to break down the adhesive effectively. Next, take out a microfiber cloth—its soft texture is ideal for gently wiping away any remaining glue without scratching or damaging the clear coat. Make sure all residue is completely gone by applying firm but gentle pressure as you go.
Step V - Final Clean
Finally, cleaning up after this labor-intensive process will help set the vehicle up for its next adventure. Finish by using isopropyl alcohol to wipe down the entire surface of your vehicle. This step helps remove any lingering residues from both the adhesive remover and previous cleanings, ensuring that your car’s finish is clean and primed for any potential detailing or future wrapping endeavors. It’s remarkable how satisfying it is to see that pristine surface fully exposed again!
Tips to Prevent Paint Damage
One of the most effective measures to protect your vehicle’s paint during vinyl wrap removal is to use heat carefully. When employing a heat gun, remember that it should be moved constantly across the surface. This prevents any one spot from becoming too hot, which could lead to unsightly heat damage or even paint blistering. A gentle, sweeping motion as you warm the vinyl helps loosen the adhesive, making peeling easier while safeguarding the underlying surface.
Another significant consideration is how you peel away the wrap. Instead of yanking it off, apply consistent and gentle pressure. When removing the wrap, use a steady, smooth force to reduce the possibility of uneven tears that could damage both the wrap and the paint underneath.
Before diving into the full removal process, take a moment for a small test run on an inconspicuous section of the vehicle. This trial will enable you to observe the adhesive's interaction with your paint. If you find discoloration or peeling paint during this initial test, you can reassess your approach before moving on to more visible areas.
Additionally, being aware of environmental conditions is vital. Ideally, removal should take place in moderately warm temperatures ranging above 60 degrees Fahrenheit; such conditions help ensure that both the vinyl and adhesive soften effectively. Avoid working in cold weather or extreme heat, as these elements can significantly affect the quality of the wrap removal.
Post-Removal Cleaning and Detailing
Once the wrap is off, the true condition of the car’s paint is revealed. There may be some adhesive residue left behind or even small scratches that weren't previously apparent. Start with a thorough wash using a pH-neutral car shampoo. This gentle cleanser will effectively lift away any leftover debris and contaminants without risking damage to your paint's surface.
After that, a clay bar treatment is required. A clay bar is an incredible tool that can remove imperfections like embedded dirt and pollutants that regular washing can't tackle. You'll know it's working when you feel the clay clinging to particles as you move it over your car's surface. Using a detailing spray to lubricate the area is crucial to avoid damage.
Using a dual-action polisher with a suitable polishing compound can rejuvenate your paint, restoring its luster and depth. Move methodically over each panel; patience here pays off. Following polishing, adding a layer of protection is vital. Waxing or sealing enhances the shine and acts as a barrier against environmental factors like UV rays, moisture, and contaminants.
Preserve Your Paint with Our Expert Wrap Removal Services
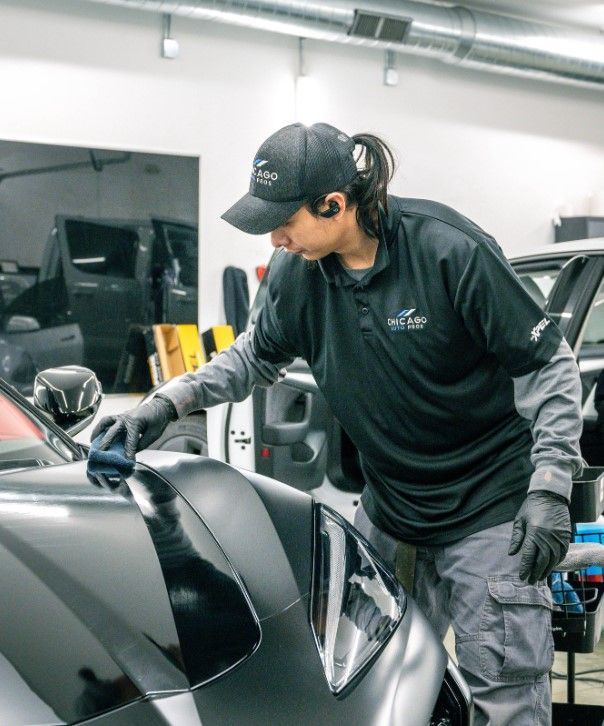
Removing a vinyl wrap without damaging your vehicle’s paint requires more than just peeling it off—it demands careful technique, the right temperature, and the proper tools. From preheating the surface to gently lifting the vinyl and cleaning off residual adhesive, each step must be handled with precision to avoid scratches, discoloration, or clear coat damage. While DIY methods can work, trusting professionals ensures that your vehicle’s factory finish stays flawless throughout the process.
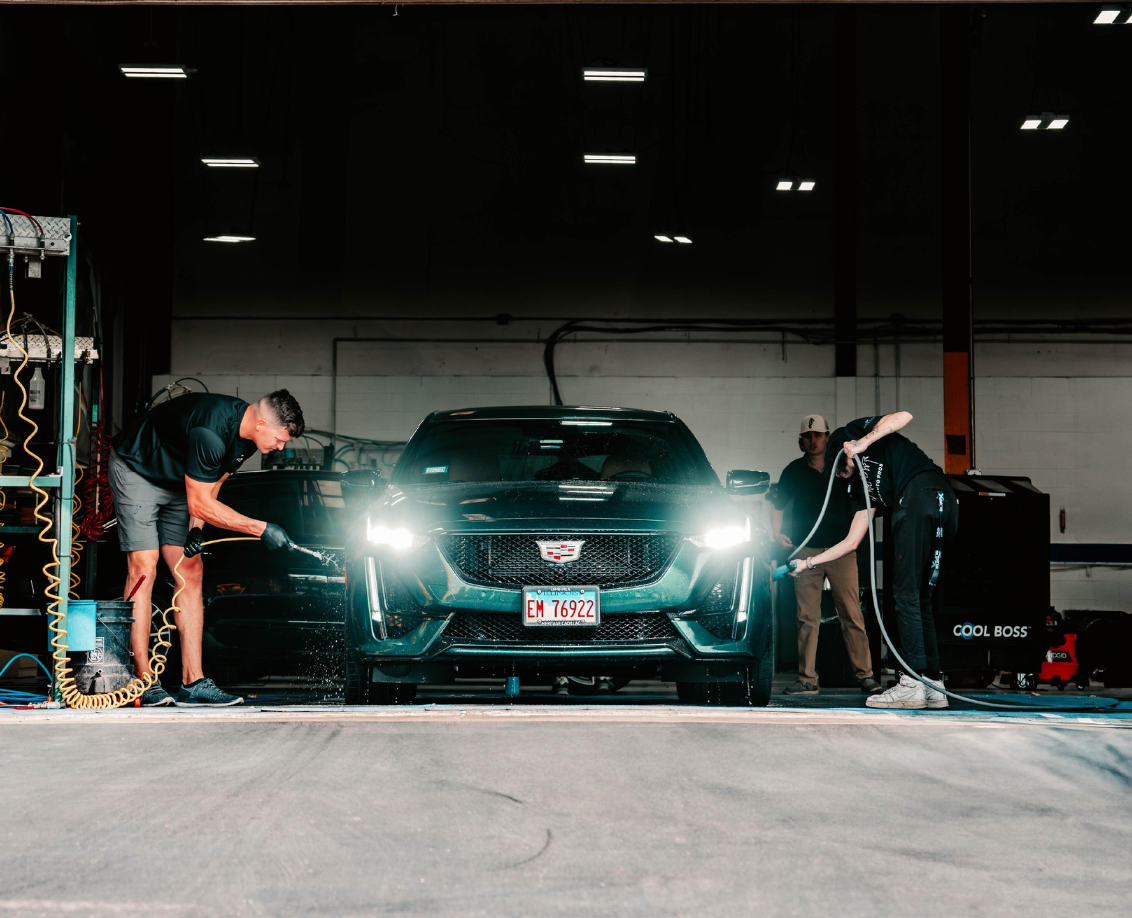
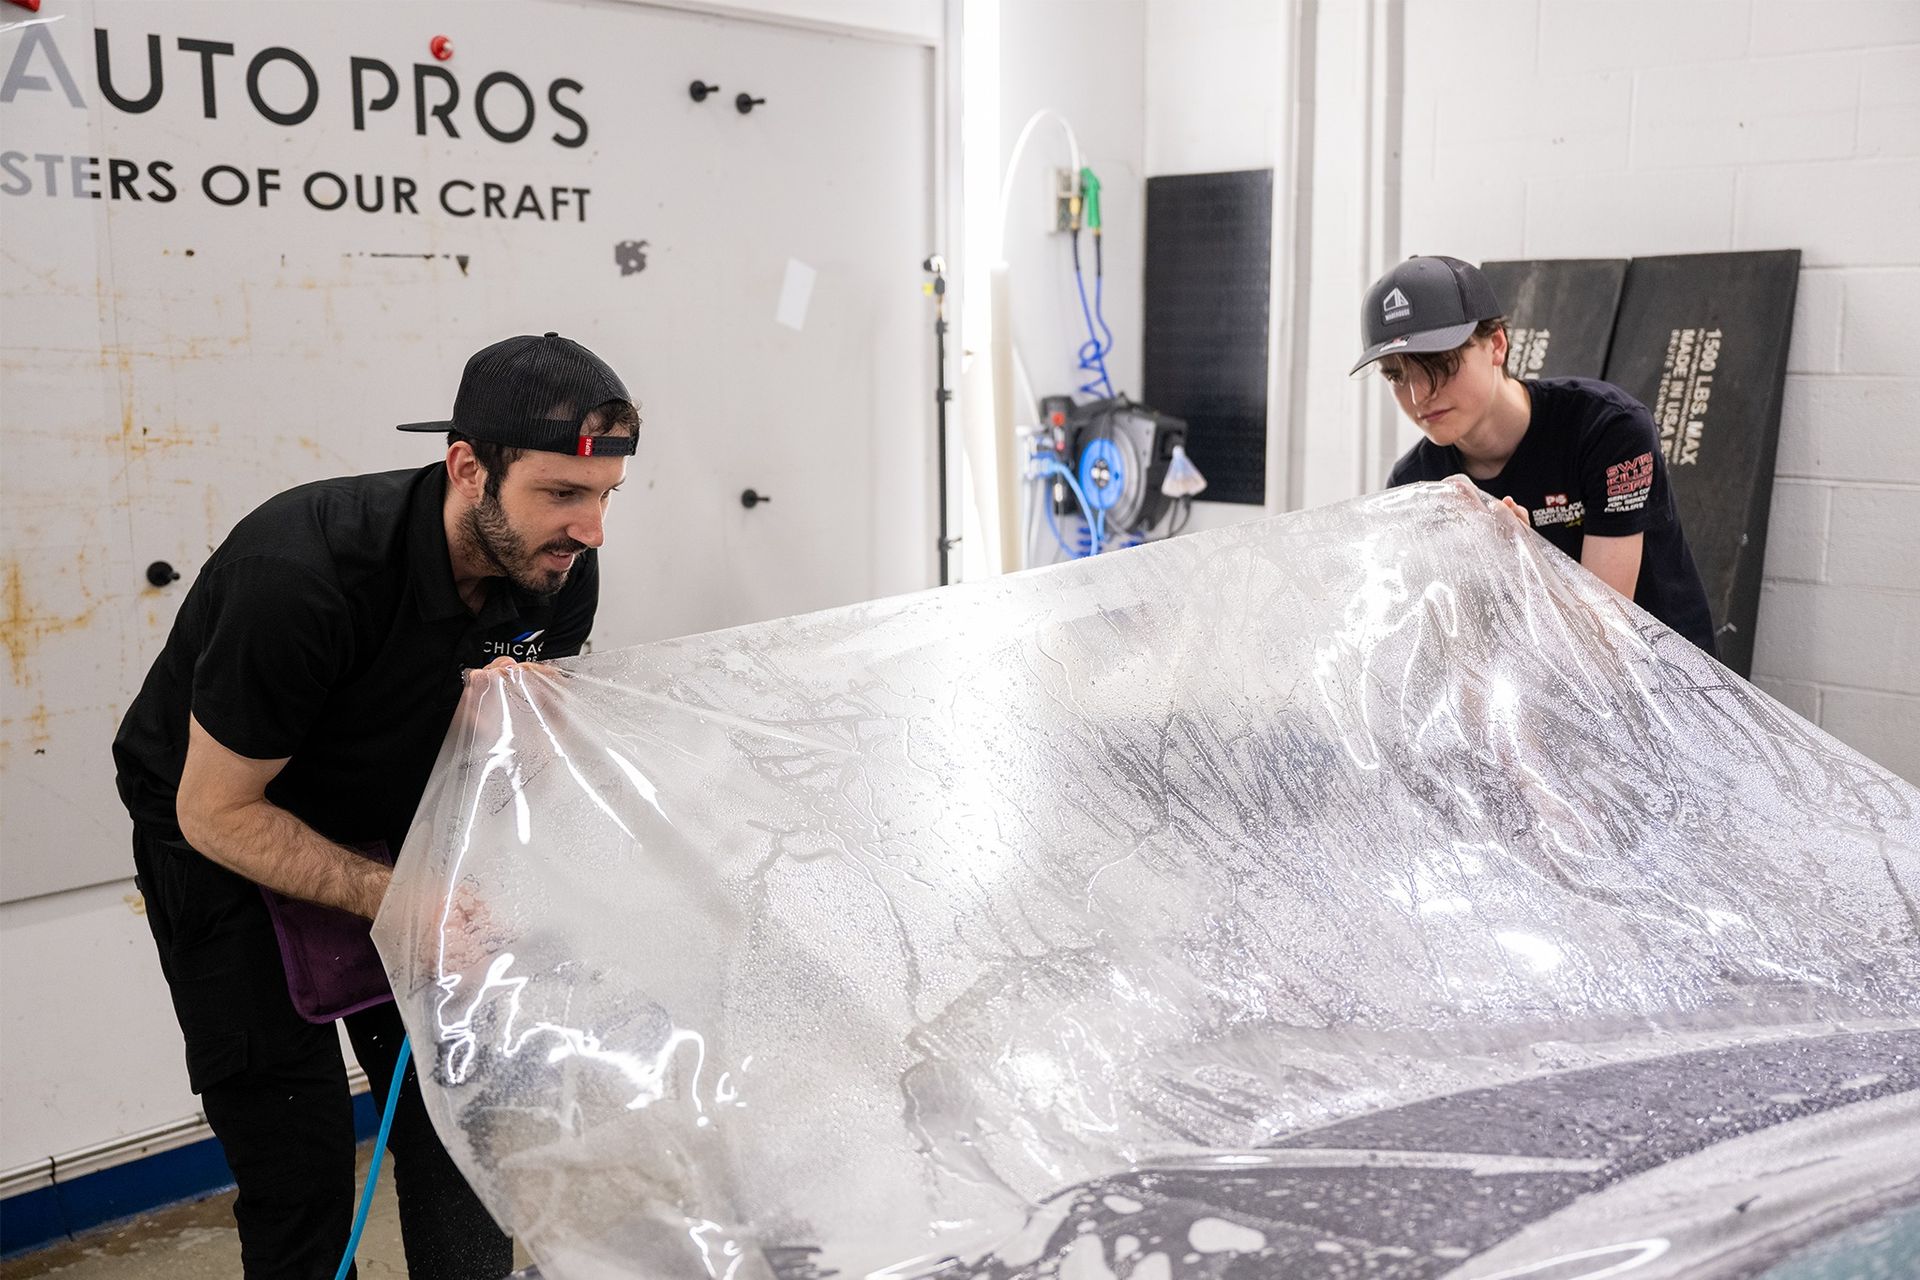
At Chicago Auto Pros, we specialize in safe and efficient vinyl wrap removal tailored to protect your car’s paintwork. Whether you're switching to a new design or restoring the original look, our experienced team guarantees a clean, damage-free result.
Call us today at (224) 432-5462 to schedule your expert wrap removal service and keep your vehicle looking its best!
Share with your friends
We Make Your Car Look Beautiful
Founded with an unquenchable desire for automotive perfection, Chicago Auto Pros is a leader in paint protection efforts and aesthetic vehicle detailing services in Chicago, Illinois. When you bring your automobile to our Chicago-based detailing shop, you are sure to experience unmatched integrity, customer service excellence, and above all, absolute automotive perfection from the inside out. Choose the right auto detailing team - choose Chicago Auto Pros!
Lombard Location
207a Eisenhower Lane South, Lombard, Illinois 60148, United States
Glenview Location
2075 Johns Ct, Glenview, IL, 60025, United States
St. Charles Location
315 Industrial Dr, St Charles, IL 60174, United States